
Best Practices and Tips for PowerPoint Documents
The following are some tips for making PowerPoint Documents accessible.
Slide Master
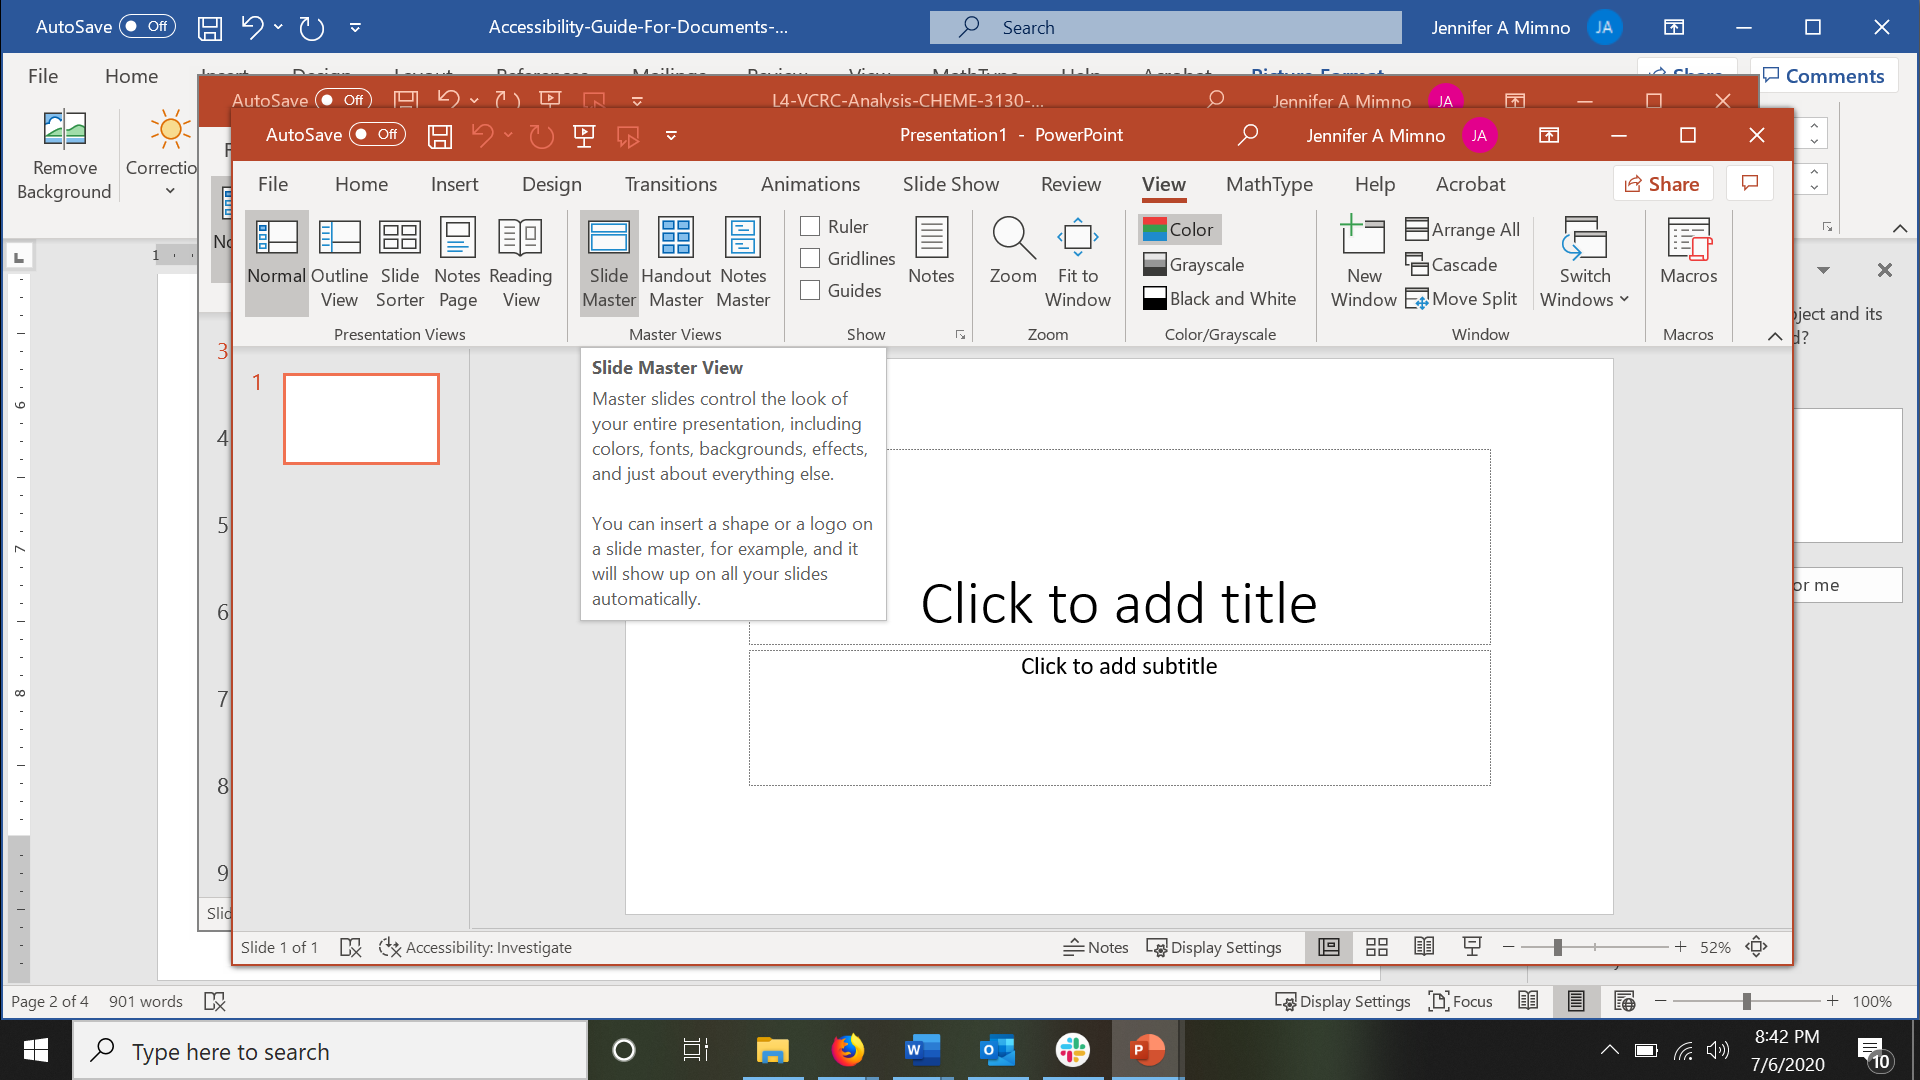
The built-in template you must use for PowerPoint documents is called the Slide Master. Navigate to the Slide Master by clicking on the View option in the menu. Then click on Slide Master.
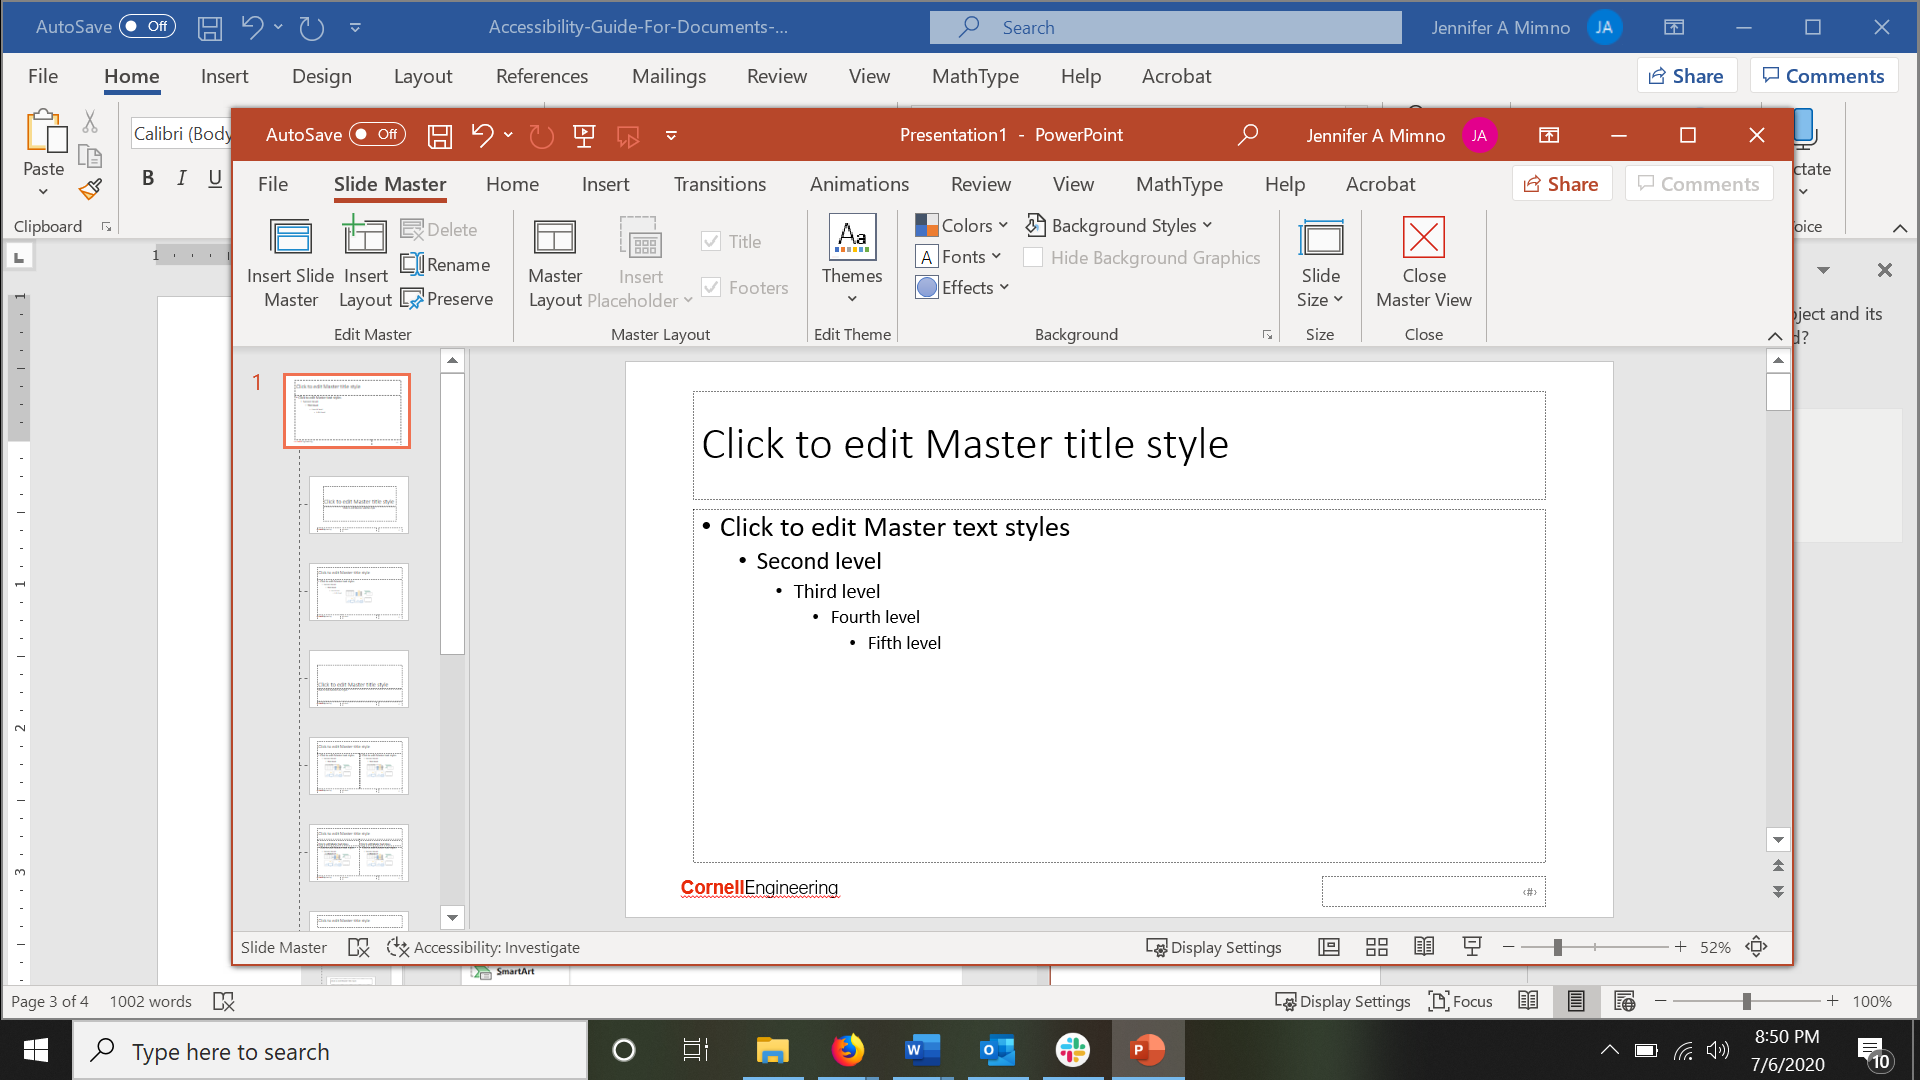
PowerPoint provides a Slide Master template for you, but you can easily create your own or modify existing Master slides. For example, if you want the Cornell Engineering logo to appear on every slide, you can add it to the top level master slide and it will then appear on every slide in that set.
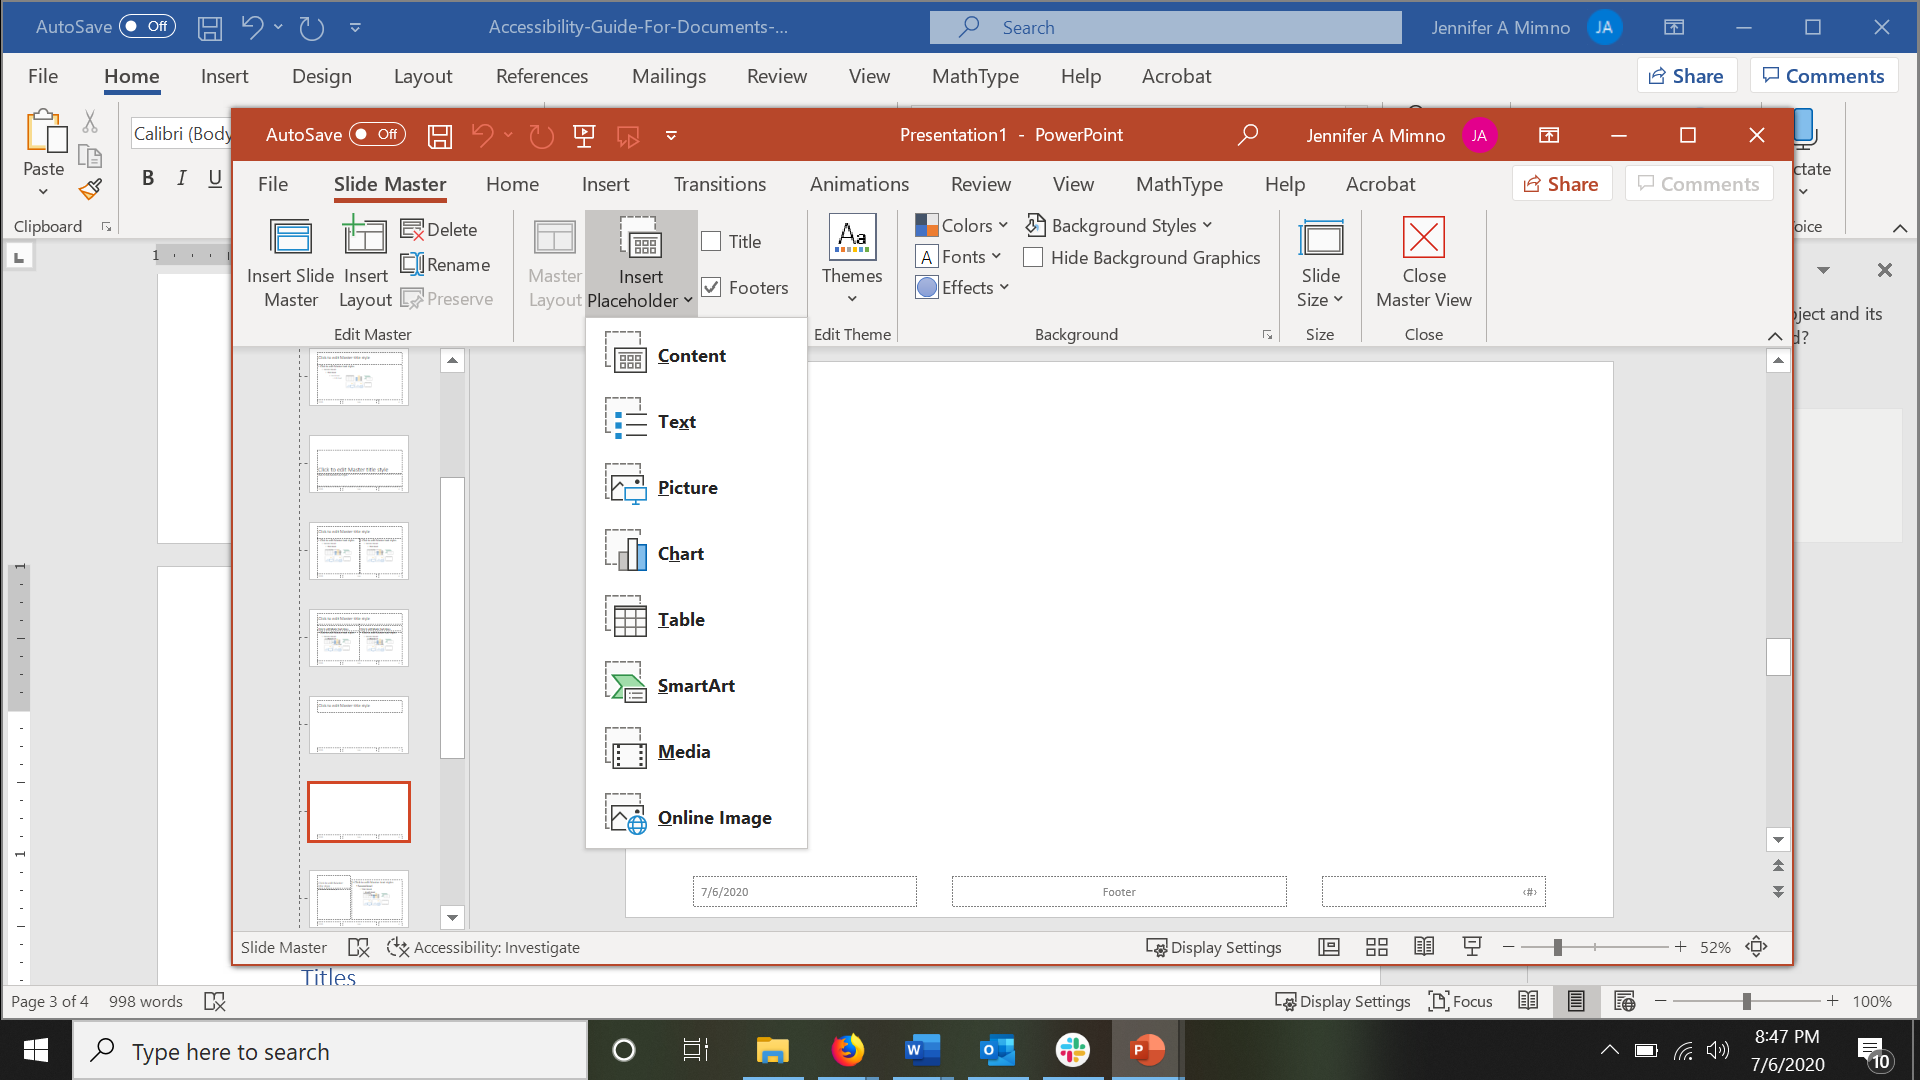
Please note that when creating slides you should put text, images, and graphs only into the placeholders. If you add a text box manually, e.g., insert>text box, the screen reader will not “see” this. If you need more text boxes, add them to the Slide Master by inserting a placeholder.
Titles
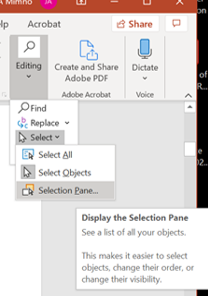
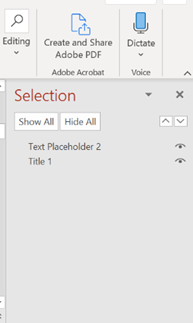
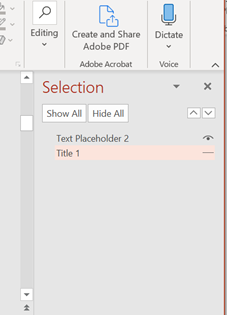
In order to be 508 compliant, every slide must have a title. This is so a screen reader user can easily tab through titles to find the slide that they want. If you do not want a title visible or do not have room for one, there is an easy work around. Open the Selection Pane and then next to the title, click on the eye icon so that it shuts. Now the title will still be there and readable by a screen reader, but be invisible to the viewer.
Reading Order
The selection pane is also where you set the reading order of your slides. Please note that it reads from the bottom up so it is correct to have the title on the bottom.
Checking Accessibility
PowerPoint has a built-in accessibility checker found under the Review menu.
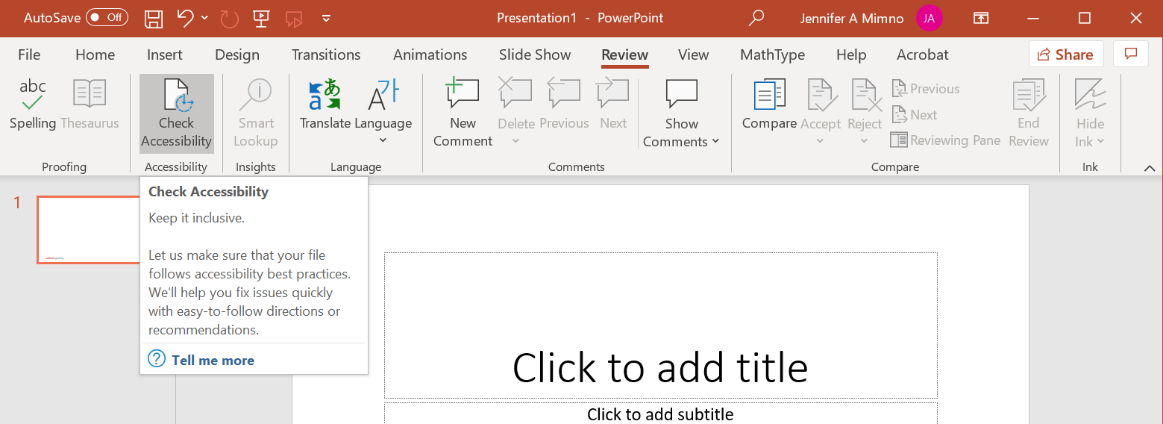
It is important to remember that passing this accessibility check DOES NOT mean your document is 508 compliant. Please review the PowerPoint 508 Checklist to ensure full compliance.
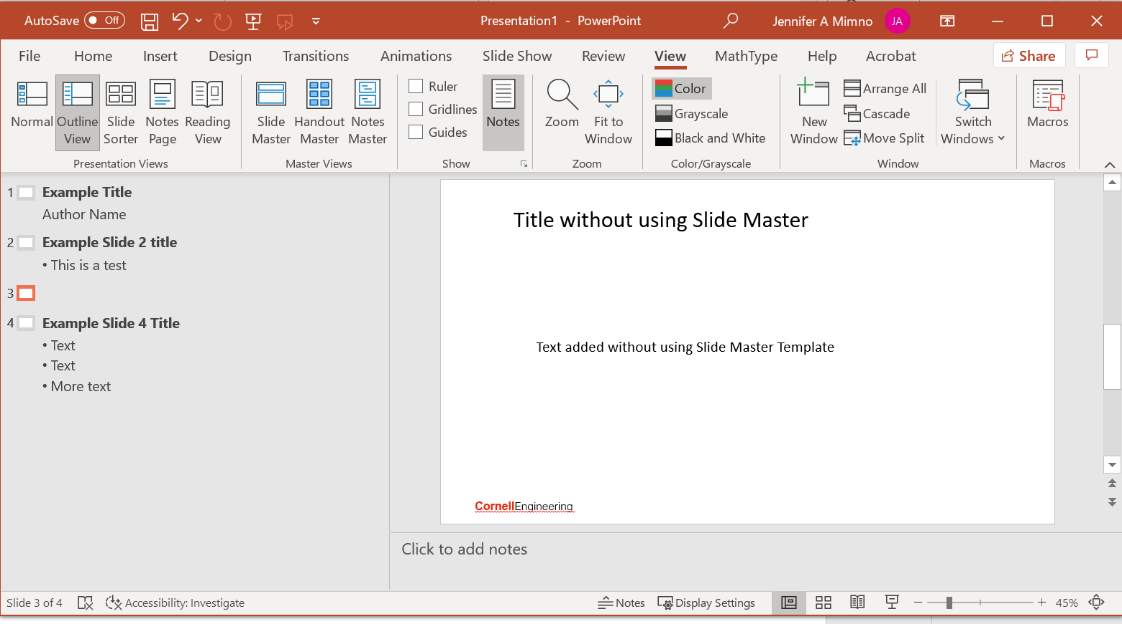
One convenient trick to test whether you have properly used the Slide Master is to go to Outline View found under the View menu.
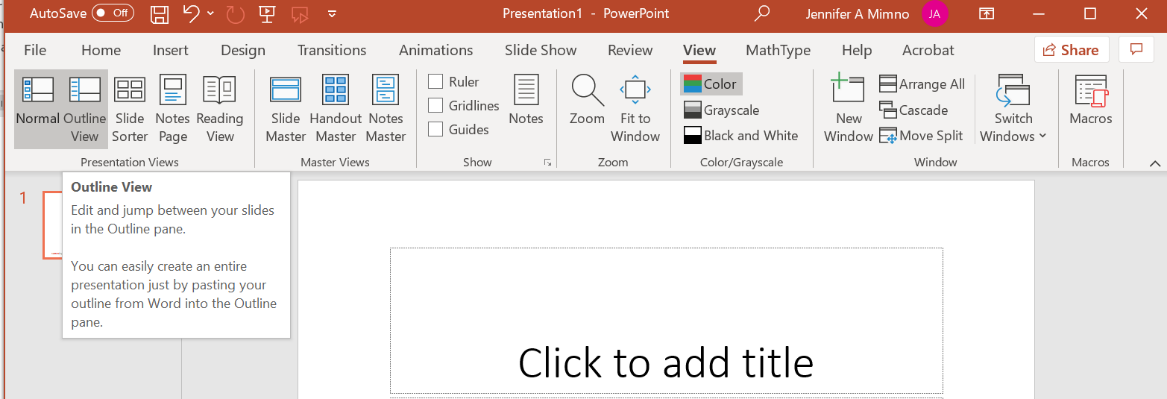
If you have used the Slide Master correctly, then the content should appear in the outline. You will note in the screen shot below, Slide 3 is missing content in the outline view. A screen reader “sees” whatever is in the outline view so if you have not used the Slide Master, the content will not be readable to the screen reader user.
Smart Art
Smart Art: so convenient and a great way to add some professional looking flair to your PowerPoint slides. But is Smart Art accessible? No, it is not. Smart Art achieves its look by layering various elements. This is a nightmare for a screen reader to interpret. But do not despair! You can still use Smart Art, but you will need to take a few extra steps:
- Create your Smart Art as your would normally and fill in all the text.
- Now select every element of the Smart Art (images and text). You can do this by using your mouse to highlight the Smart Art, making sure you get every element. The other method is to hold down the Shift button as you manually click on every element. Next, while everything is highlighted, right click your mouse and save as an image. I typically save as a JPG and save it to my desktop. Double check the image to make sure you got all the elements.
- Delete the Smart Art from the slide and replace it with the image.
- Create Alt Text for the image.
Please note that any other types of layered images will need this treatment as well. For example, if you place any shapes like multiple circles with arrows pointing to them, follow the same steps to merge them into an image.