
Steps for each asynchronous class recording
NOTE: The following process relies on the Kaltura engine within Canvas to generate captions automatically. While this engine is considered ‘good enough’ for compliance, the resulting captions will be on average ~80% accurate depending on sound quality, speech patterns, accents, etc.
Panopto recordings
Record your class materials with Panopto as usual, either directly to Canvas (fig. 1) or to your local computer after which you upload to Canvas (fig. 2).
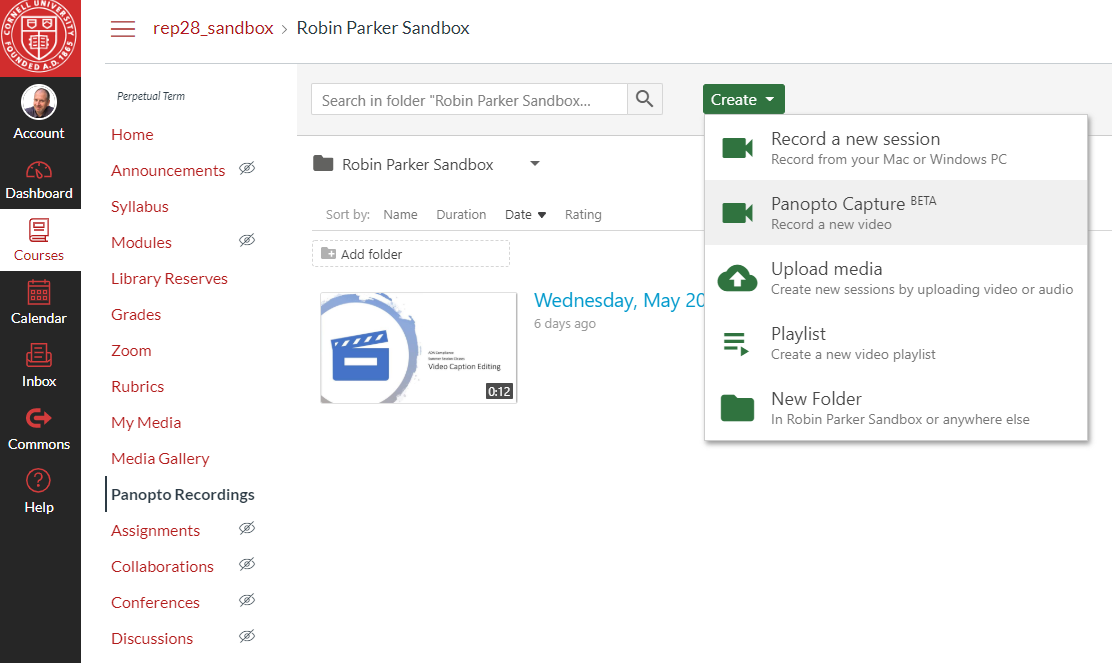
Figure 1
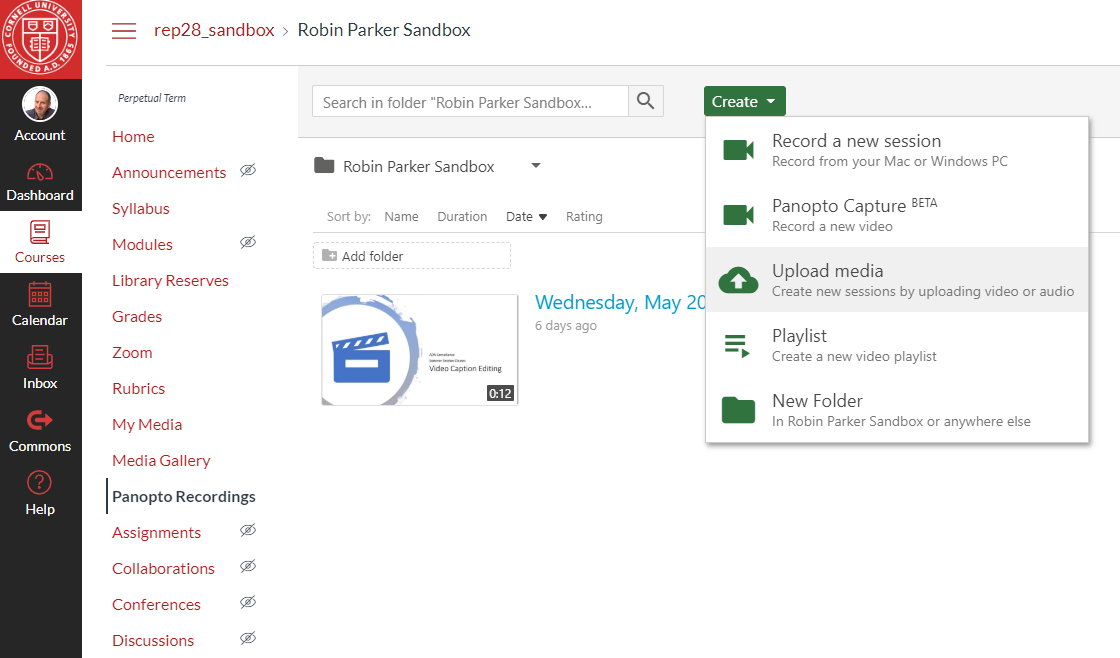
Figure 2
Panopto will generate captions automatically. If you desire 100% accurate captions for Panopto recordings, follow these steps. Also expect to take between three and four hours of editing for each hour of recorded video.
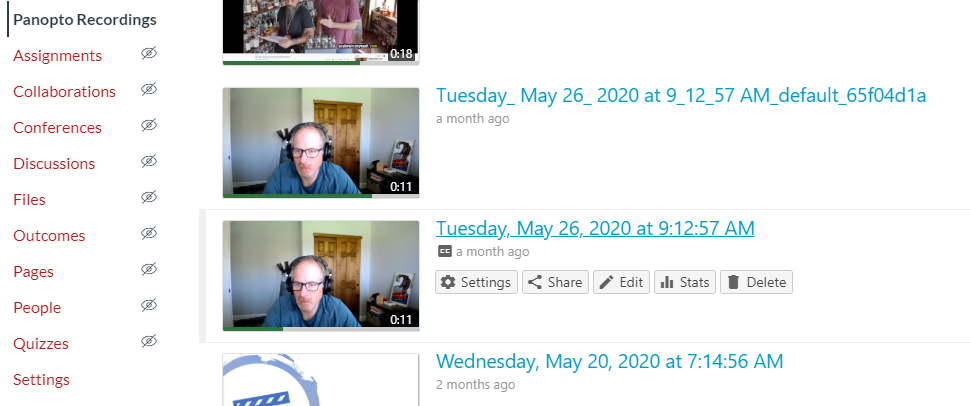
After uploading your Panopto recording, or recording directly to Canvas, click on the video you want to edit, or the Edit button below the video’s title.
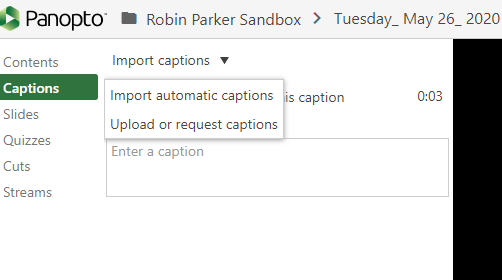
Click the Captions menu on the left. The video’s automatically generated captions may appear, or you may have to select Import automatic captions from the drop-down.
Note that automatic captions may take up to two hours to generate and appear after you first upload your video.
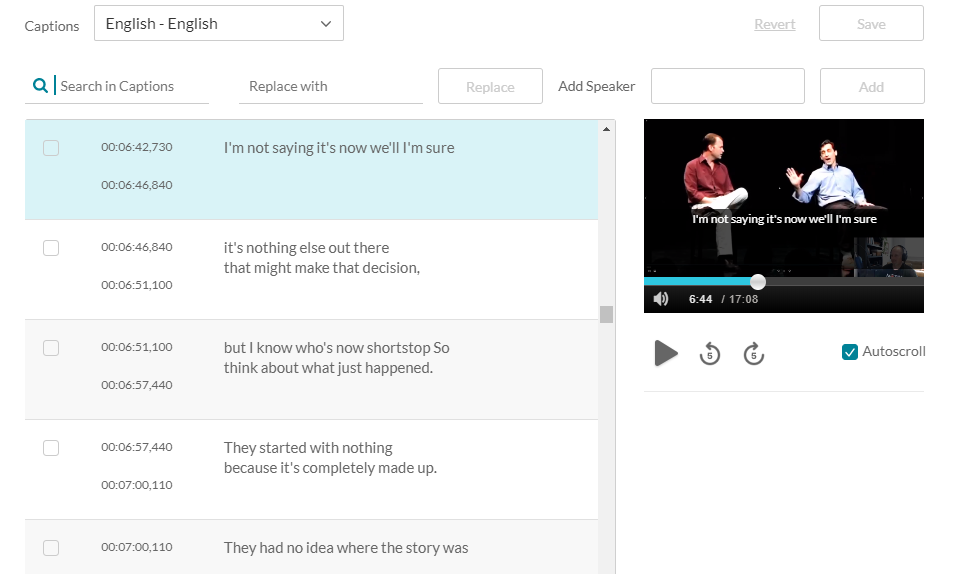
Captions will appear in the column on the left side of the screen, and they are broken into 5-second snips from your video.
As you play the video in the editor, listen for the spoken words, and edit the text captions in each 5-second snip by typing in the caption box (highlighted below).
It is possible to break the 5-second snips into smaller snips, but this is not recommended. The process is clunky, and it adds to your processing time. You can do this by clicking in a caption box, and selecting ‘Edit’ from the vertical ellipsis button at the upper right. The resulting window allows you to enter new timestamps and split the section.
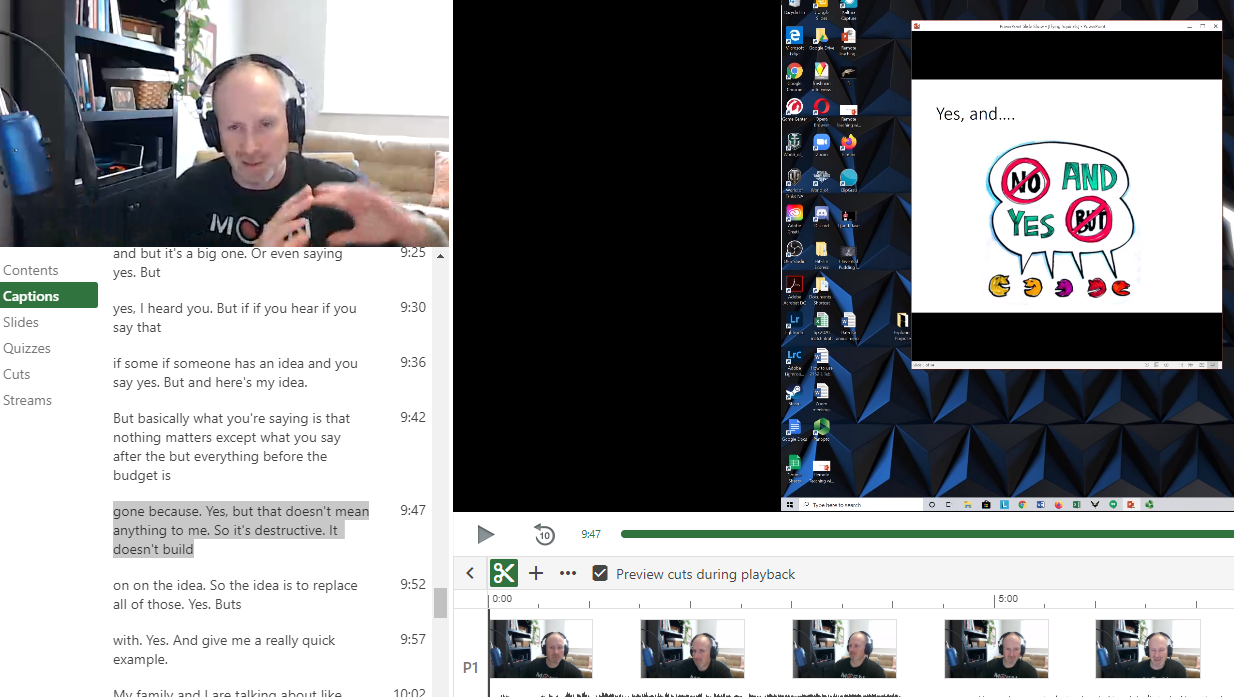
Once you have edited your captions, click the Apply button at the top right of the screen. The edited captions will be attached to your video wherever you publish it within Canvas (i.e. on a page or within the Panopto Recordings area).
Videos from any other source, including Zoom or Kaltura recorded locally and uploaded to Canvas
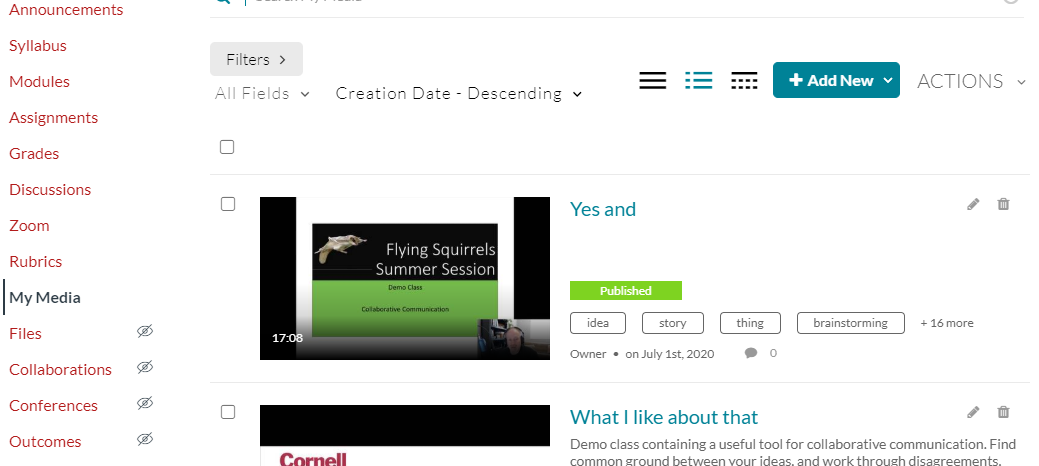
Be sure to have the “My Media” component active on your Canvas class navigation.
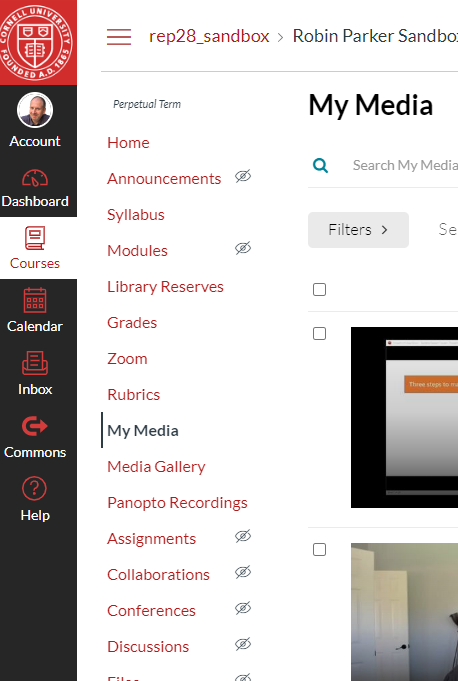
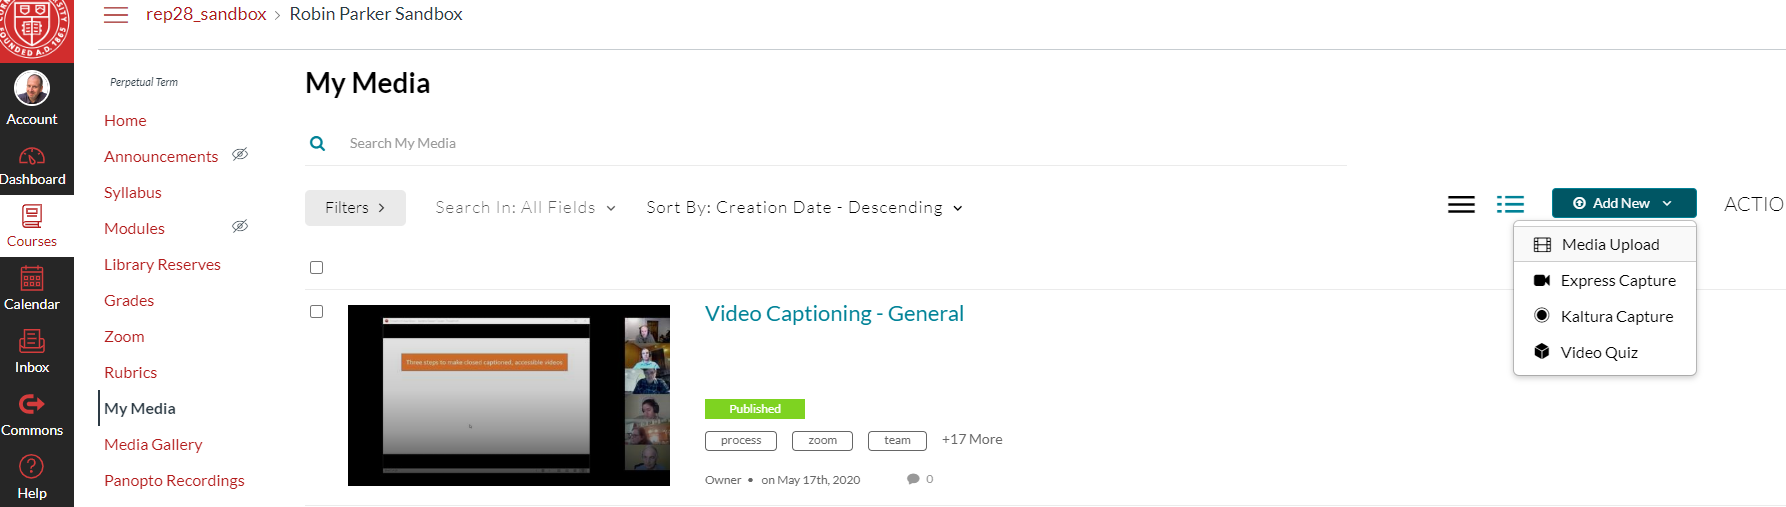
In the “My Media” section, upload your video file. [Add New] > [Media Upload]
The Kaltura engine within Canvas will automatically generate caption files with roughly 80% accuracy depending on audio quality, speech patterns, and accents. Note that it may take up to two hours for Kaltura to generate captions and make them available.
Adding videos to a Canvas page (recommended by CTI)
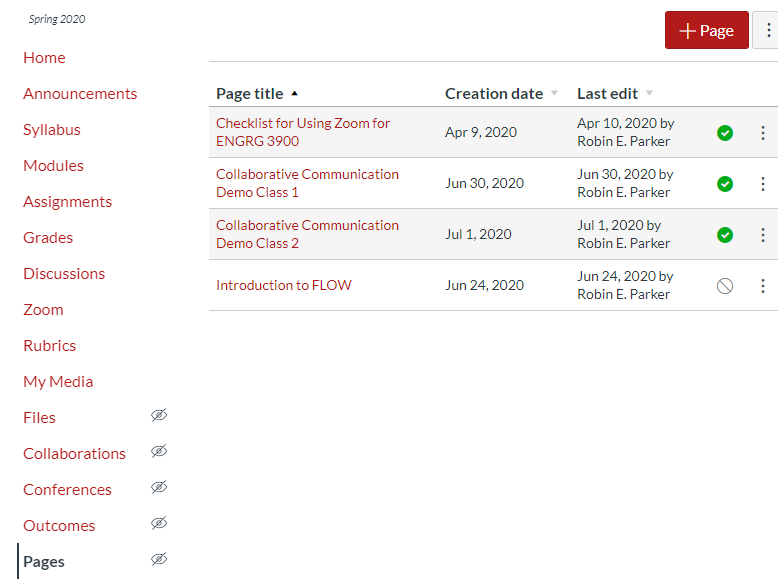
Access the Pages area in your Canvas class, and click the + Page button.
Give your page a title and any description or content you like in the body.
Click the Kaltura button from the Editor window. Remember that all uploaded video content becomes Kaltura video because Canvas processes the files that way.
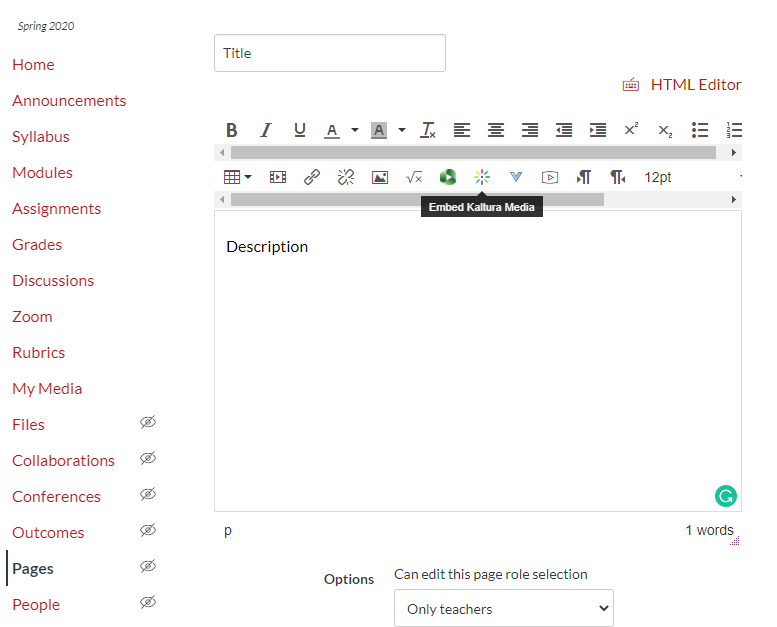
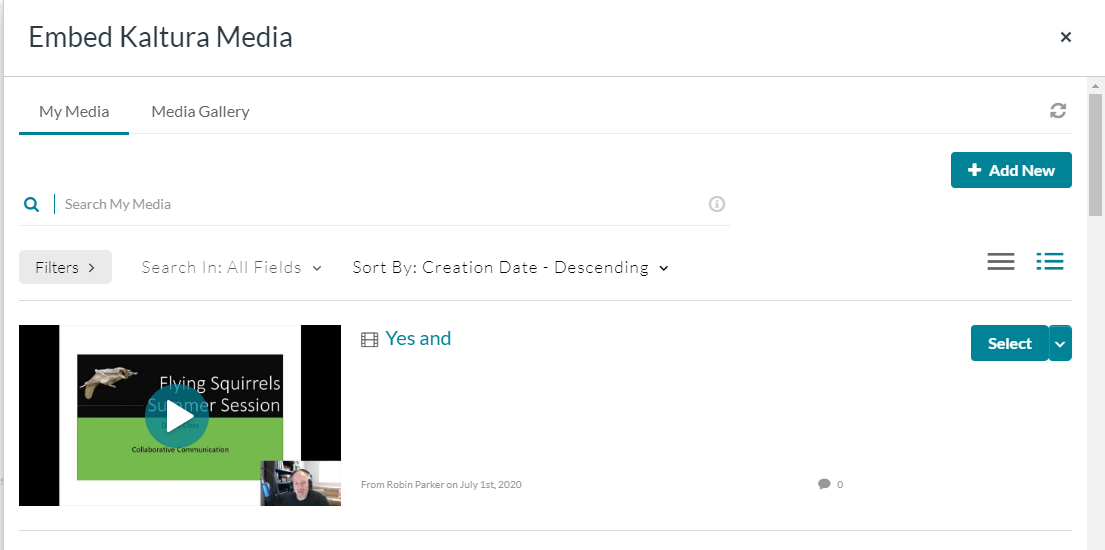
Select the video file you want to embed.
Save and Publish the page as you would normally depending on how you organize your Canvas site. Adding pages to a module is typical.
Editing Kaltura video captions
NOTE: This process is identical to editing Zoom captions in vod.video.cornell.edu as Zoom uses the same platform for hosting videos and captions. You can apply these steps to editing cloud-recorded Zoom files if you choose.
In the My Media area of your Canvas site, click the edit (pencil icon) link to the left of the video you want to edit captions for.
Click the Captions tab
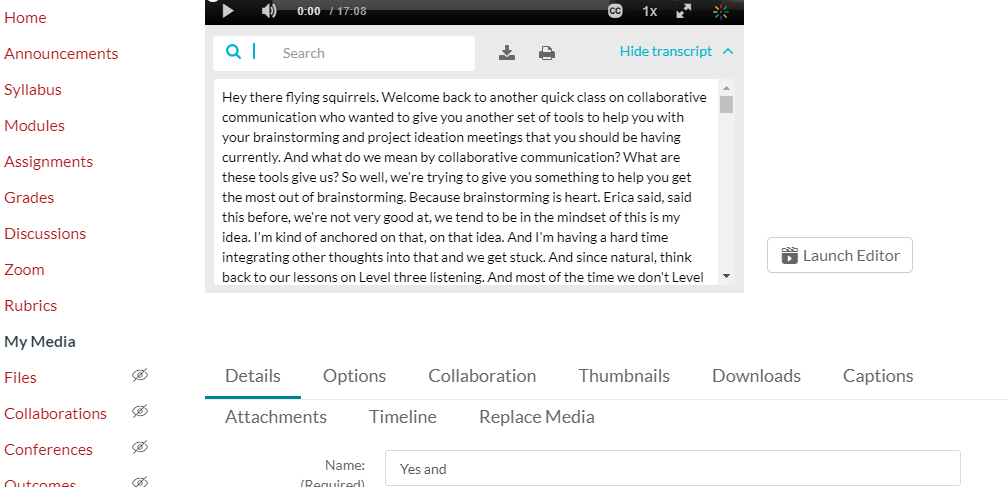
Note that the Accuracy value will probably state between 90% and 95%. This is unlikely to be true. We find that Kaltura captions are closer to 80%.
Click
![]()
On the resulting page, captions are broken into roughly 5-second segments. As you play the video, listen for the words spoken, and edit the captions as needed.
To edit, just click the caption box and type in your changes. Note that double-clicking in the caption box will forward your video to that segment, which is helpful for progressing through the video.
When you are done, click
![]()
The updated caption file will now be attached to this video file wherever you publish the video within Canvas.
For those editing captions on Zoom files recorded to the cloud
You will see that there are two caption files associated with the Zoom recording; one SRT, and one DFXP. In previous instructions, we recommended deleting the SRT file and re-labelling the DFXP file because the latter will be 5-10% more accurate from the start.

However, the DFXP file cannot be edited in place. You will have to use an online tool like Subtitletools (https://subtitletools.com/convert-to-srt-online) to convert the Zoom file to SRT. Once converted, upload the new SRT file to vod.video.cornell.edu, and edit as above.